- Home
- Photography and Fine Arts
Photography and Fine Arts
Photography and Fine Art
Sublimation Metal Products
The Consumer Photo Market
The Pro Photo Market
PHOTOGRAPHY AND FINE ART
Source: SAWGRASSINK.com

Image is Everything
Traditional prints simply cannot compete with the color, detail and durability of sublimated prints on metal, tile, canvas and glass. Sublimation delivers better imaging with wider gamuts and more precise color clarity – all of which are required for capturing important details in ways other printing processes cannot match. The result: high-definition images that demand to be seen - and purchased.
SUBLIMATION METAL PRODUCTS
Source: SAWGRASSINK.com
How To Sublimate Metal Products In A Standard Flat Heat Press
SUBSTRATE EXAMPLES
ChromaLuxe products, photo panels, jewelry, phone & tablet cover inserts, clocks, license plates, signage, pet tags, key chains, magnets, name badges, bag tags.
BEFORE YOU START
This is a guide only, based on production with Sawgrass Sublimation Inks -‐ times, pressures and temperatures will vary and you will need to experiment to find the optimum combination for your production system. Remember that sublimation requires high temperatures so take appropriate care when handling substrates and equipment.
KEY POINTS
- Always read the manufacturer’s instructions for the press and the substrate -‐ settings may vary between brands.
- Metal products must have a polymer coating for sublimation.
- Metals are very thin and highly heat conductive, which makes it possible to place the transfer print on the lower platen and the metal substrate on top if it (the opposite of how most products are positioned).
- Metals are available with white surfaces, silver surfaces or bronze surfaces (dependent on the manufacturer).
- Most polymer coated metal products have a plastic coating over the printing area -‐ this must be removed before production. A simple method is to hold one edge of the print surface against the upper platen of the heat press for approximately 3 seconds -‐ this will cause the plastic to soften so it can easily be removed.
MINIMUM EQUIPMENT REQUIRED
- Sawgrass Supported Printing System
- Sawgrass Sublimation Inks
- High Quality Sublimation Transfer Paper
- Flat Heat Press
- Quality Coated Metal Products (‘the substrate’)
- Protective Teflon Sheet or Absorbent Paper
- Scissors
- Heat Resistant Adhesive Tape
- Heat Protective Glove
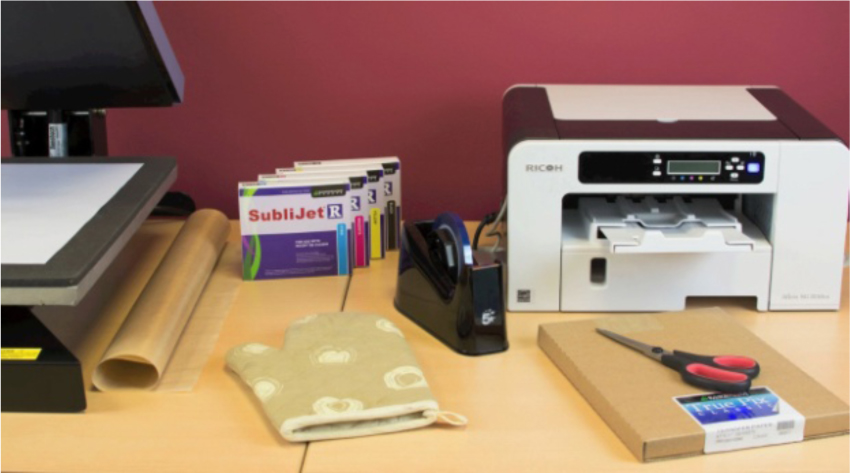
INSTRUATIONS
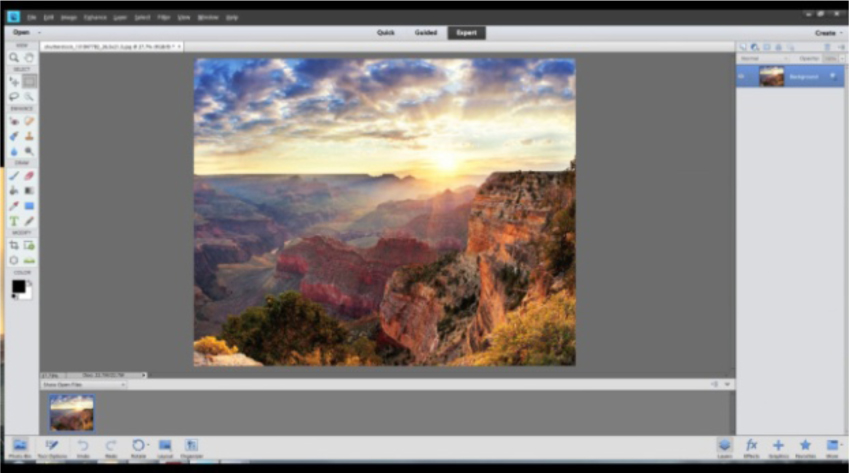
1. Create your image using a standard graphics program in RGB mode. The ideal design and print resolution is 300dpi. If available, use graphics templates provided by substrate manufacturers for exact print sizes. If no template is available ensure the image is created 0.25” / 6mm larger than the substrate.
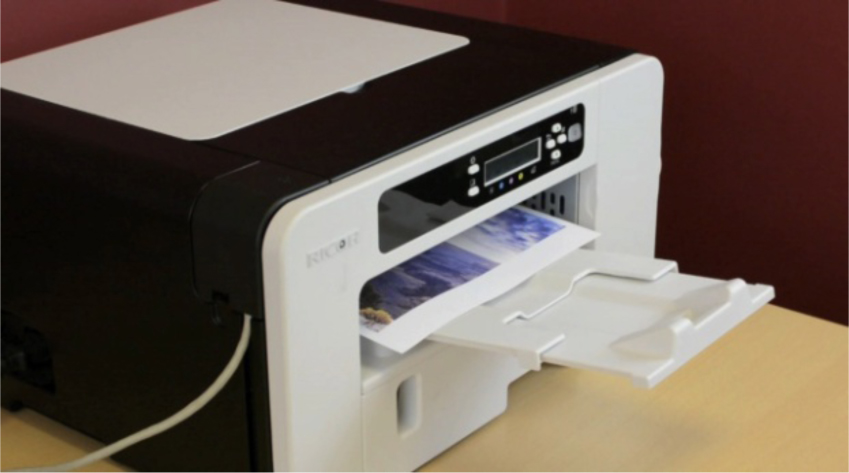
2. Print the image in reverse (mirrored) on to high quality sublimation transfer paper and trim to size if necessary.
3. Remove the protective plastic coating from the substrate.
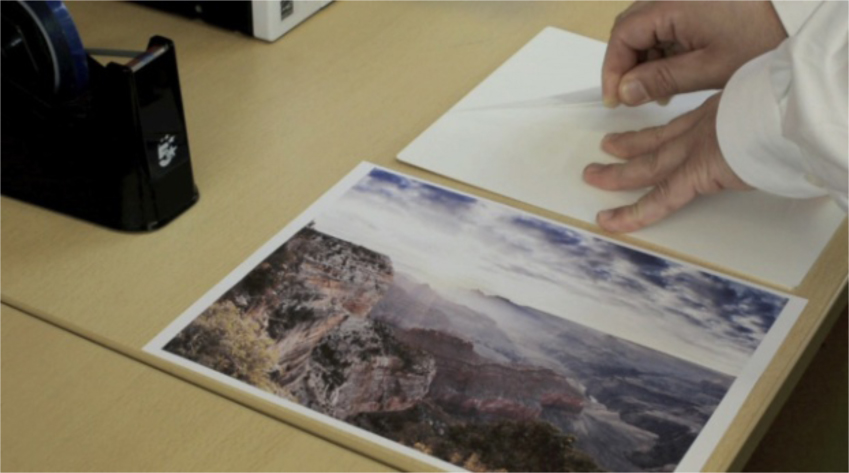
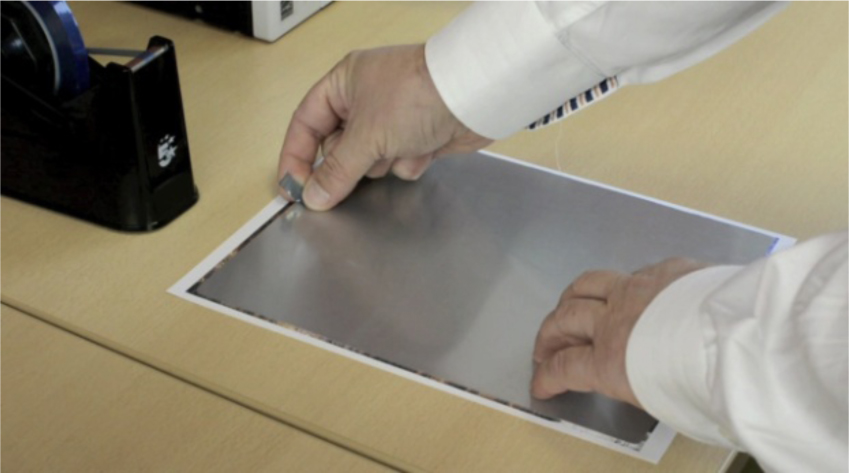
4. Attach the substrate to the transfer print using heat resistant tape.
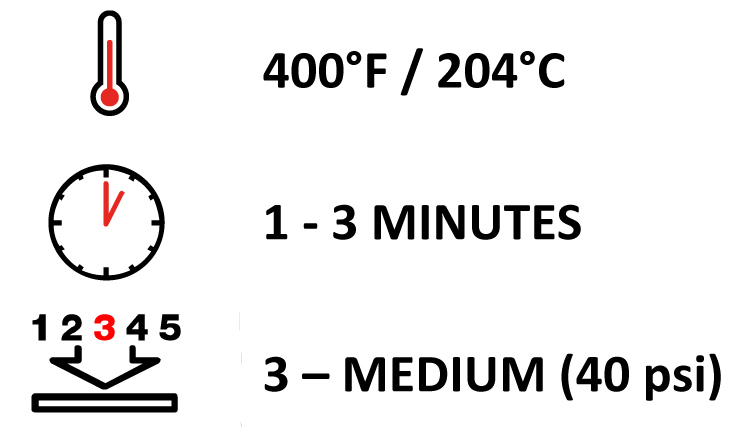
5. Preheat the press to 400°F / 204°C.
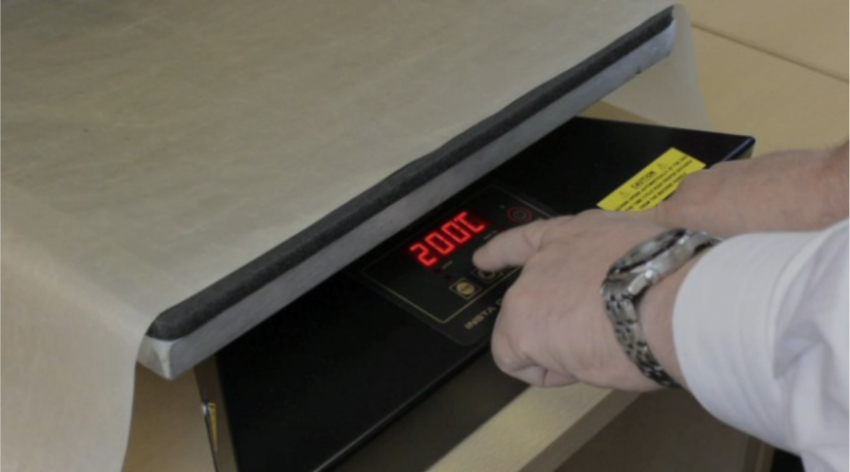
6. Set the time to 1-‐3 minute.
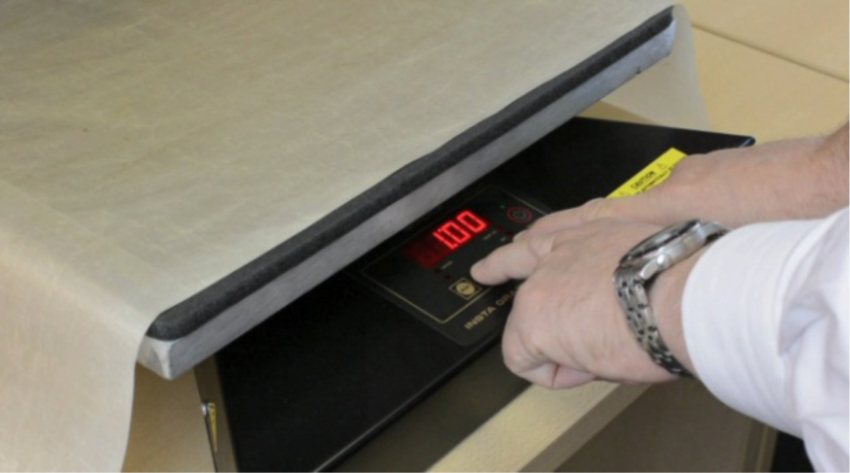
7. Set the pressure to medium (40 psi).
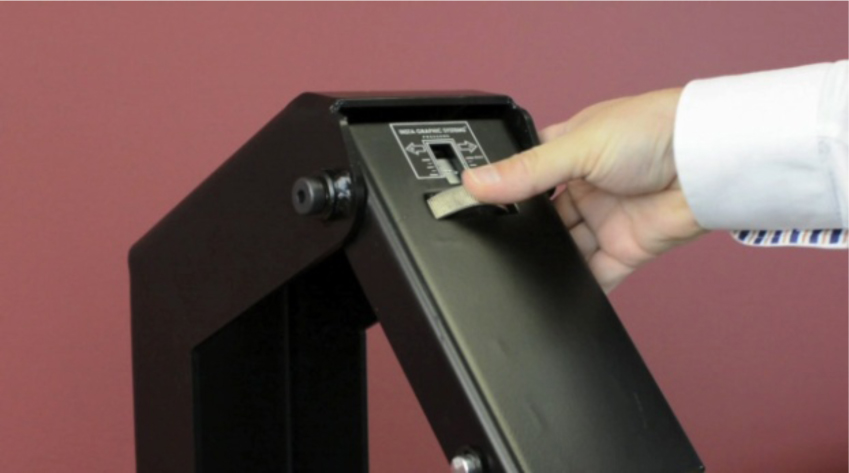
8. Place a clean sheet of absorbent paper on lower platen of the heat press to prevent the excess ink from coming in contact with the press.
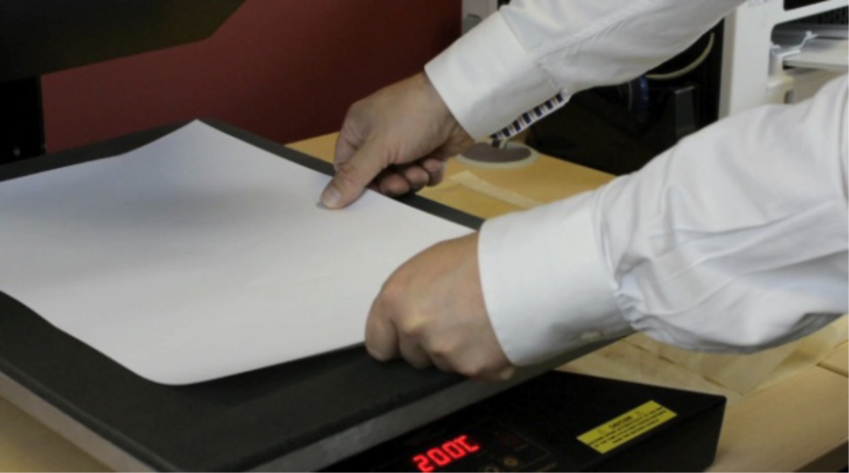
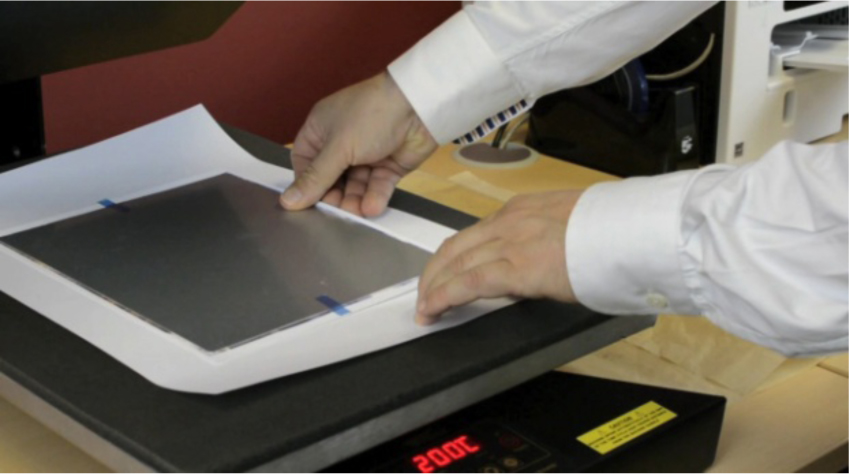
9. Place the substrate onto the press with the transfer image side facing up.
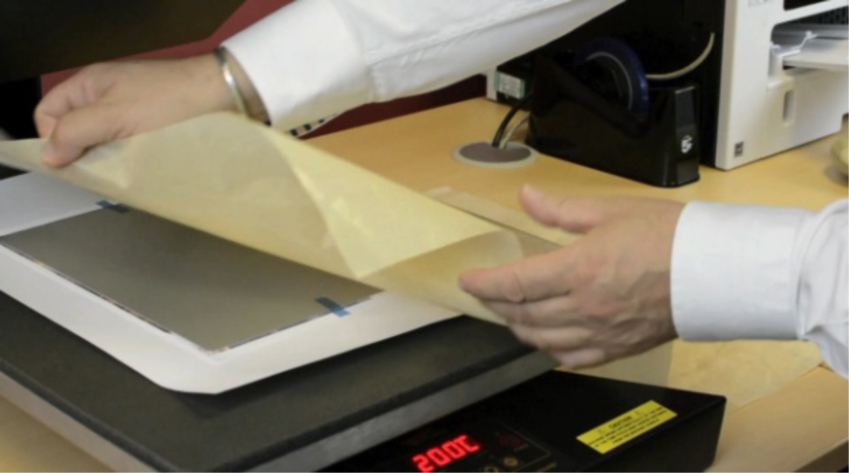
10. Cover with a Teflon sheet to protect the press.
11. Press at 400°F / 204°C for 1-‐3 minutes at medium pressure.
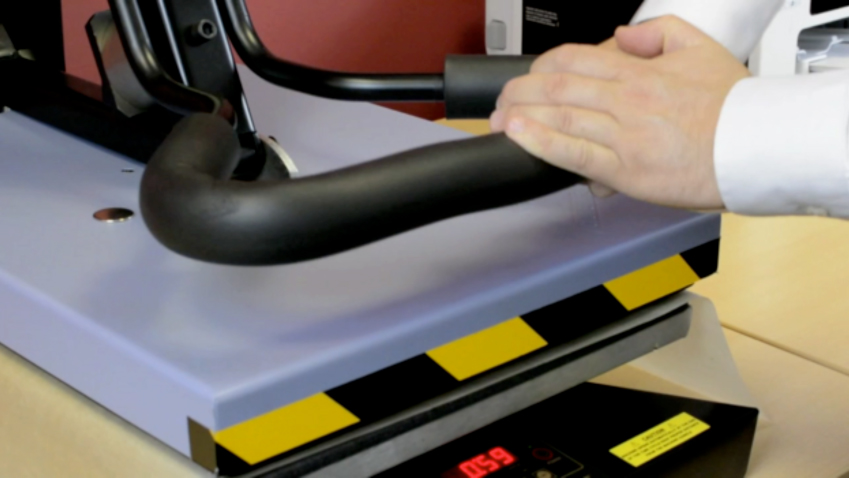
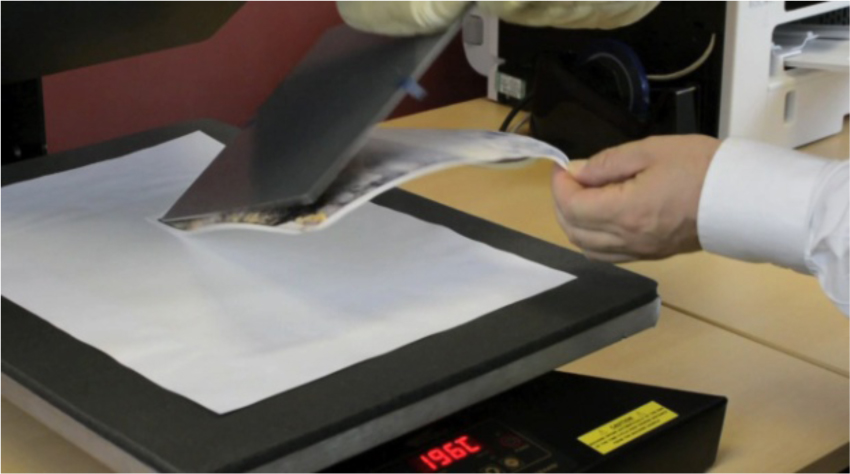
12. Remove the transfer quickly and smoothly to stop the sublimation process. Beware the substrate will be very hot!
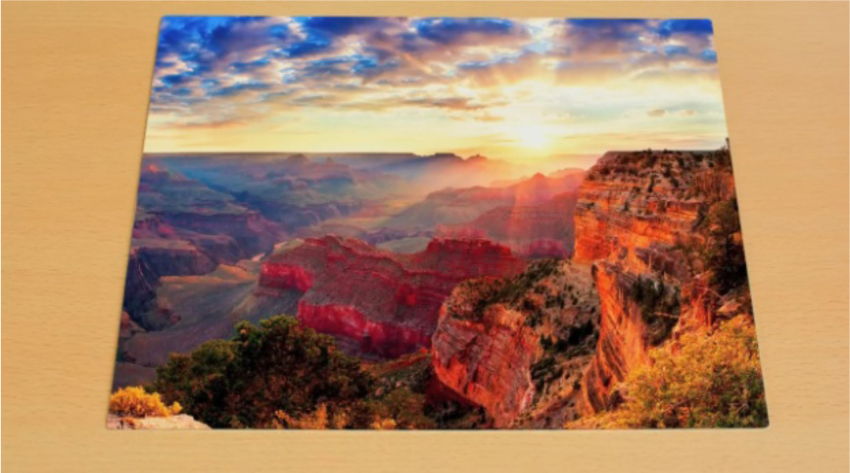
13. Cool the substrate in accordance with the manufacturers’ instructions.
RECOMMENDATIONS
- Make a Test Piece. Test your settings for color, temperature, pressure and time.
- Create a Production Reference Log. Make a log of the optimum settings for each substrate for future reference. Include substrate and manufacturer, temperature, pressure and time settings.
THE CONSUMER PHOTO MARKET
Source: SAWGRASSINK.com
THE PRO PHOTO MARKET
Source: SAWGRASSINK.com
 Loading... Please wait...


